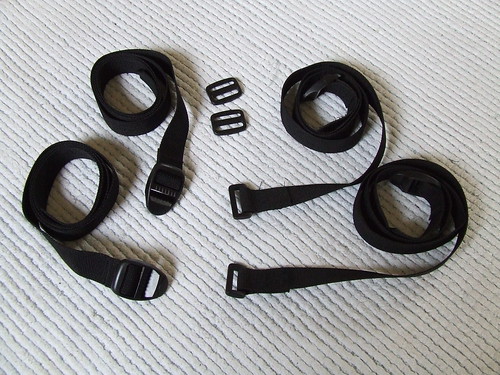
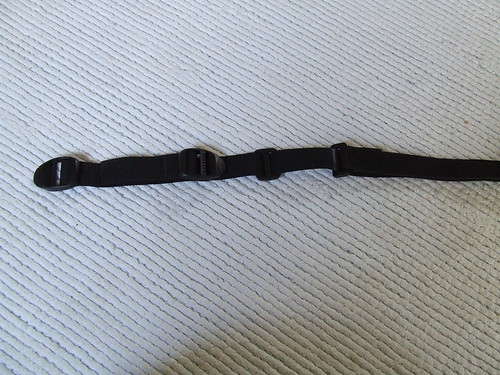
Four 1m webbing straps with the type of buckle that has the webbing feeding back through the buckle and tightens up on itself.
Two square figure 8 buckle things. Recommended but not required.
Two rectangular buckle things shown sewn in place on the end of the strap. These are optional as you can sew this strap directly to the other one.
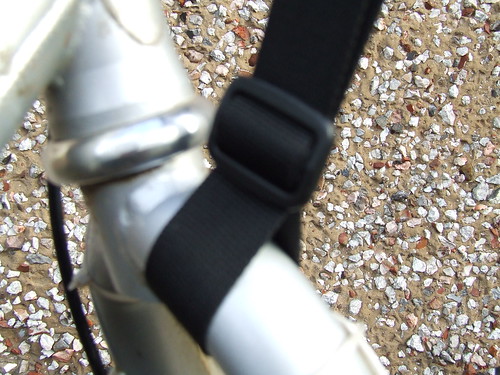
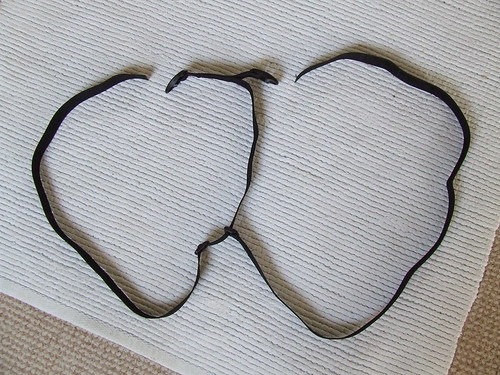
 Harness 001 by youngray50, on Flickr
Slide the figure 8 onto a strap and loop the strap around your bars and forks, back through the figure 8 and finally throught the buckle and tighten it all up.
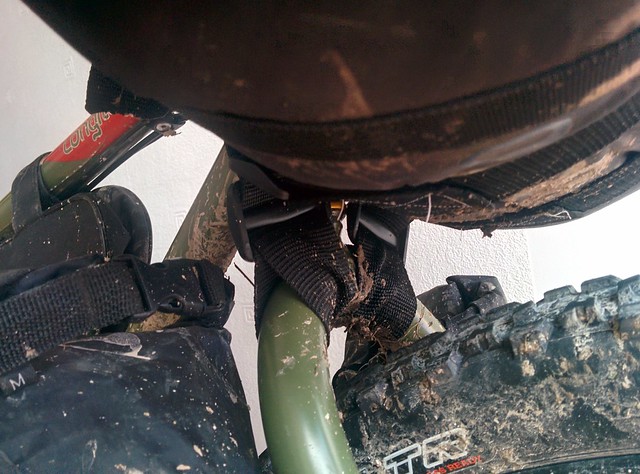
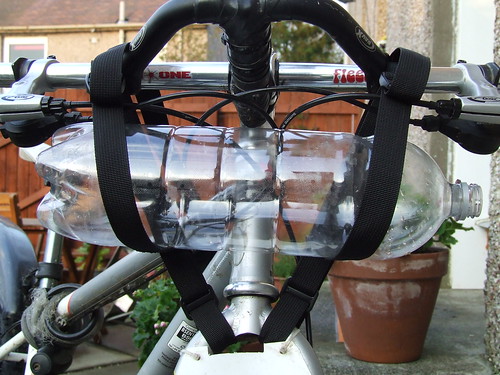
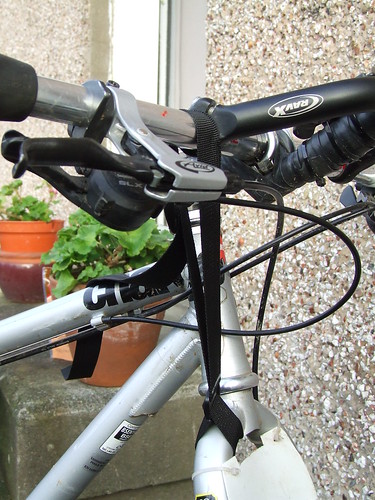 Harness 002 by youngray50, on Flickr
The buckle should sit behind and close to the bar.
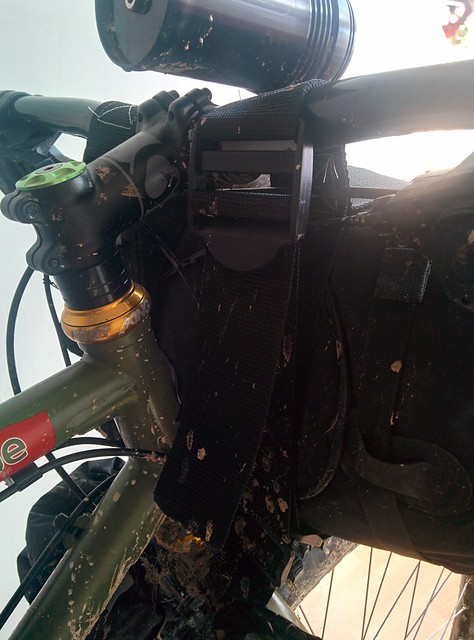
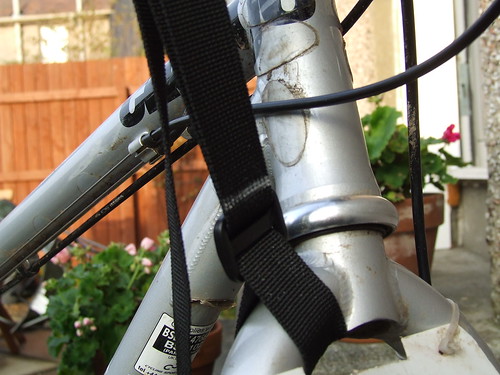
 Harness 004 by youngray50, on Flickr
The strap should be fed through the figure 8 which sits as close to the fork as possible. The figure 8 is not strictly required but it does help tighten things up and helps to stop the strap rotating.
 Harness 003 by youngray50, on Flickr
If you are sewing the second strap onto the first instead of using a rectangular buckle thing mark it just above the figure 8 so you know where it goes when you remove it from the bike to sew.
 Harness 006 by youngray50, on Flickr
Cut the buckle off a second strap but leave a couple of inches of strap attached. If using the rectangular buckle sew it onto the end of the long piece of strap you have just cut the buckle off. The figure 8 buckle is NOT in the correct position in the photo, it should be below where you marked the strap.
 Harness 007 by youngray50, on Flickr
Sew the short buckle strap to the long buckle strap and sew the long strap with no buckle onto the long buckle strap where you marked it.
 Harness 008 by youngray50, on Flickr
If using the rectangular buckle instead of sewing then slide it onto the long buckle strap.
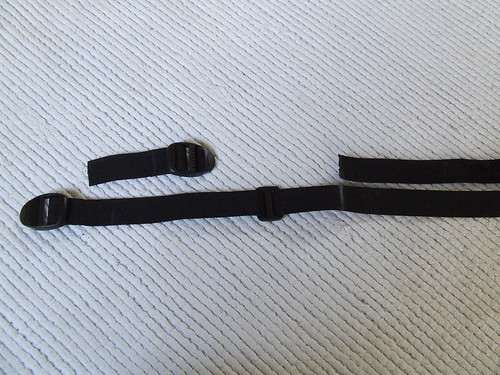
 Harness 009 by youngray50, on Flickr
It should look like this, left side goes round bars and forks, right side holds the bar bag. Now make another one exactly the same.
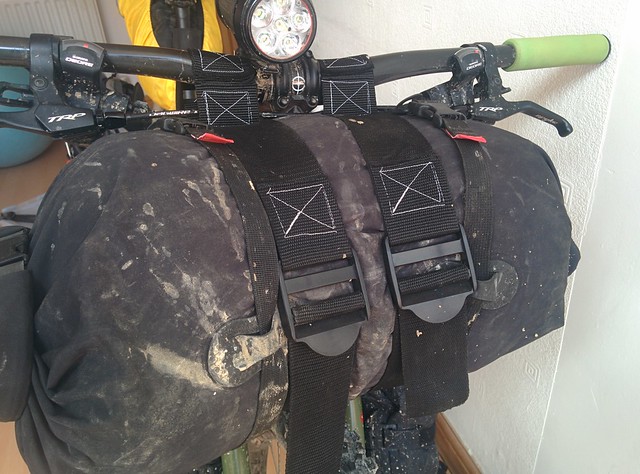
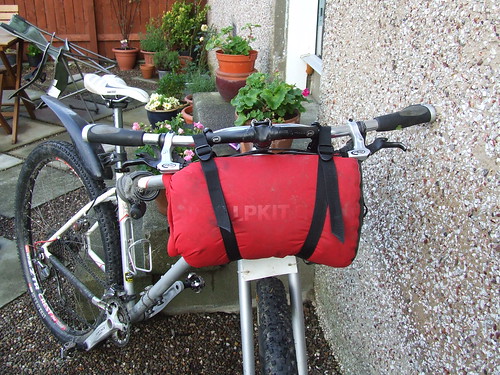
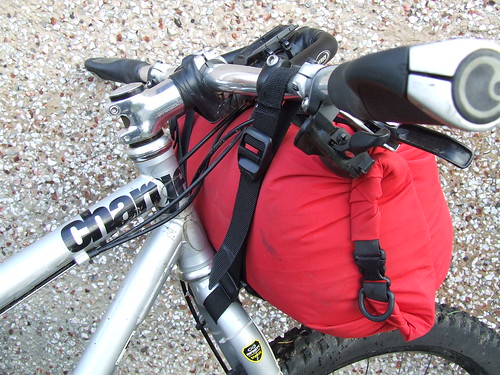
 Harness 010 by youngray50, on Flickr
Mounted on the bike.
 Harness 011 by youngray50, on Flickr
13l drybag.
 Harness 012 by youngray50, on Flickr
On some forks the bag may rub on the head tube.
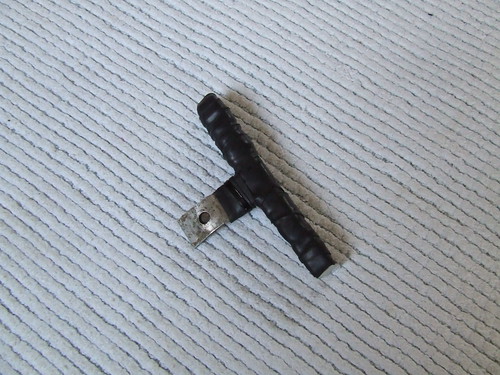
 Harness 013 by youngray50, on Flickr
To get round this I cut an aluminium T section then wrapped it in old inner tube to avoid the sharp edges cutting the webbing.
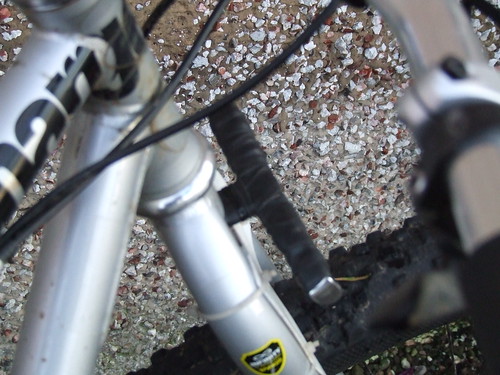
 Harness 014 by youngray50, on Flickr
It mounts under the fork by way of a star nut or expander nut inserted into the bottom of the fork steerer.
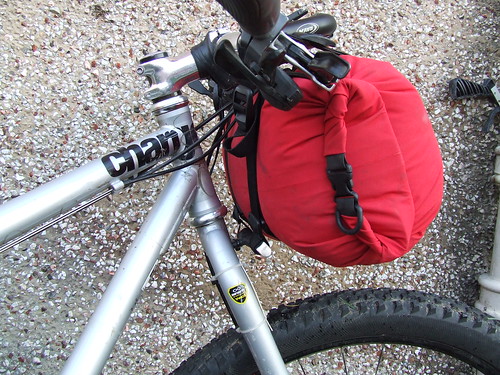
 Harness 016 by youngray50, on Flickr
As you can see it pushes the bag away from the head tube nicely.
 Harness 015 by youngray50, on Flickr