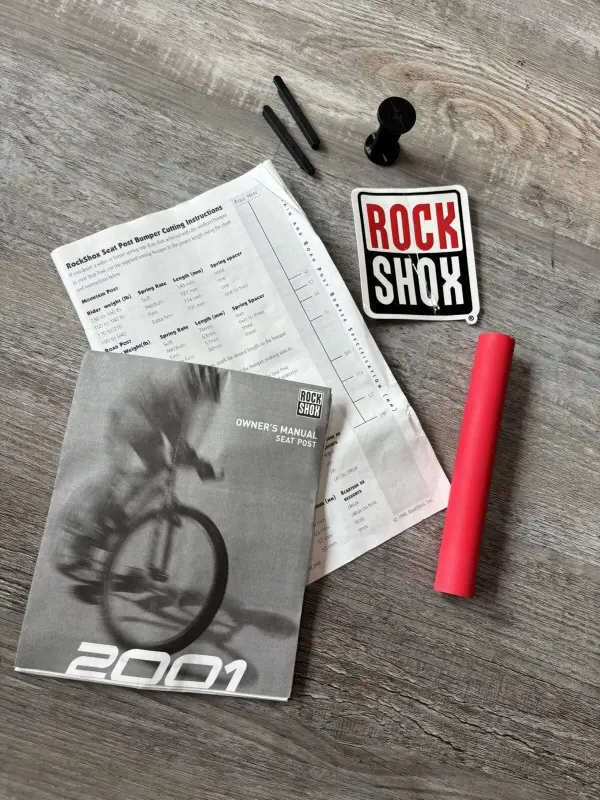
I have an old (2000s-era) Rockshox suspension seatpost on my drop bar bike. Was something I picked up locally for a tenner.
Anyway, I'm fettling all things bike just now and was looking to see if it has adjustment at all as it just seems to drop to almost full travel when i sit on it. The guy gave me some "spare" elastomers. Not sure if they are stiffer or softer for tuning it?
Correct Use of the Seatpost and Performing Maintenance
By a qualified mechanic.
We also recommend following our tips for safety.
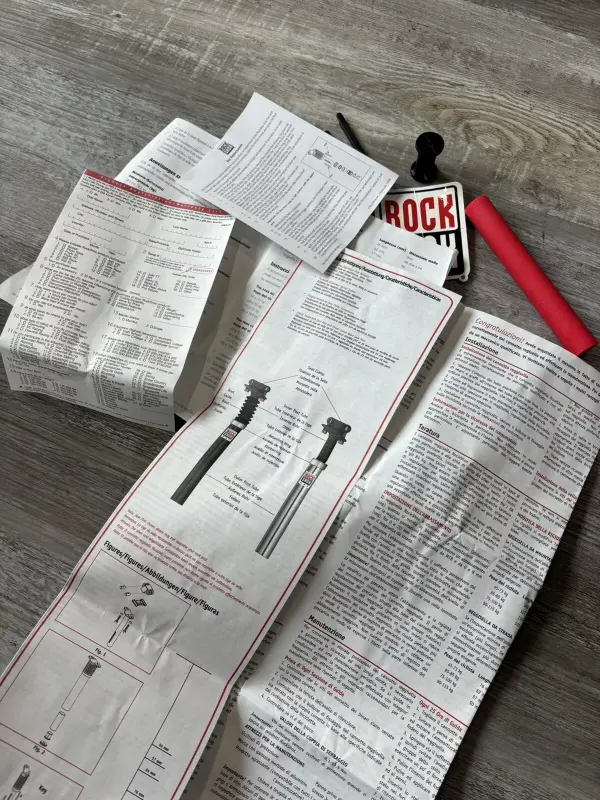
Installation
Seatpost Installation
Tightening Torque
Head Tube Spacers
Safety Information
Bicycle
Riding
Can be dangerous
Installation
Seatpost action
Calibration
Special
Preferred position
Regulation
When it comes to calibration
SModifica della rigidità (Modification of stiffness)**
The stiffness is modified by turning the locknut one turn at a time. After making adjustments, it is impossible to know the exact preload without measuring the distance between the top of the seatpost collar and the bottom of the seatpost tube.
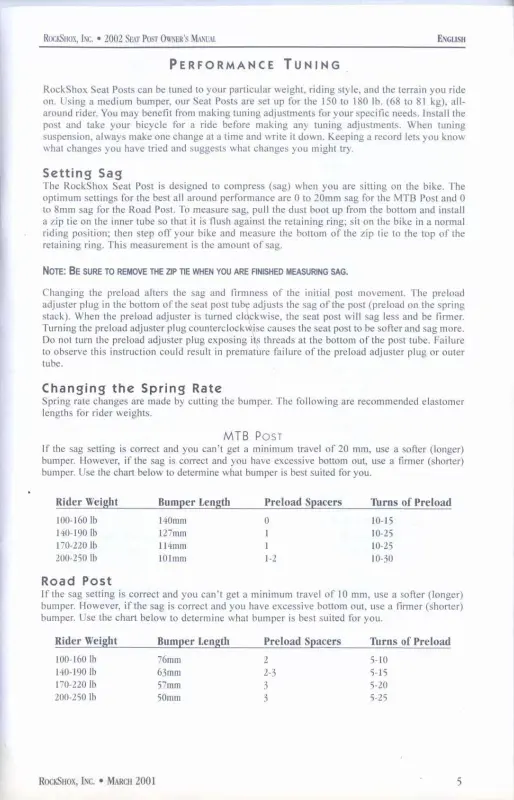
RockShox Seatpost Setting
Setting the Clamp**
Optimal settings
Zero the road seatpost
45-45 kg
75-100 kg
30-115 kg
Tighten the clamp and install a seatpost clamp with a locking mechanism: get on the bike assuming the normal riding position
Measure the distance between the bottom of the clamp and the top of the rings
Road Seatpost
If the sag is excessive (the seatpost sinks too much), it means the preload is too low (looser). If, on the other hand, the shock absorber is too hard, use the following procedure to determine the correct preload for your needs.
Tighten the clamp once calibration is complete. Tightening the preload affects the sag and the initial stiffness of the seatpost.
Preload adjustment screw at the base of the seatpost. Tightening the preload screw in a clockwise direction (pre-load on the stem increases) reduces the travel of the elastic groups. Tightening the preload screw counter-clockwise (pre-load on the stem decreases) results in a softer seatpost and more sag. Do not tighten the preload so much that the threads on the lower part of the seatpost are exposed.
Rider Weight - Travel
45-73 kg - 45 mm
55-75 kg - 50 mm
75-100 kg - 55 mm
90-115 kg - 60 mm
Maintenance
To maintain the high performance of the seatpost, periodic maintenance is recommended. If you ride in extreme conditions, maintenance should be carried out more frequently. Use the recommended tools for maintenance, which are listed below.
Oil Service every 25 Hours of Riding
Remove the shock absorber
Unscrew the seatpost pin from the seatpost sleeve
Push the sleeve out
Before Each Riding Session
Check that the clamp bolts are tightened to the correct torque.
Check that the retaining ring is tight.
Check that the seatpost fixing bolt is tightened to the correct torque as specified by the bicycle manufacturer.
Check for play.
Tightening Torques
Important: Remember to use RockShox products
Maintenance Tools
Safety glasses
Vise with soft aluminum jaws
Grease
Lint-free cloth
Degreaser (compatible with all RockShox forks)
Allen key
Important: To obtain the best performance from your RockShox fork, use the recommended RockShox service oil and a specific grease. Some products may not be compatible with RockShox products.
Some of the terminology may be specific to RockShox seatposts, so you may want to consult the RockShox manual for more information.
Anyway, off to fiddle with it - thought this might be useful for someone google searching about these posts
Good luck! I seem to remember they were very similar to USE posts, just a bit more tunable and less well sealed.... I remember deciding to get the USE version instead, in about 2000, but it being a close choice.
There is a preload screw in the base that you can adjust pretty easily.
However, cranking it up all the way was still too saggy for me.
Taking it apart I found one long elastomer and a spacer (like the fork tokens you get now).
Reading the charts in the instructions I posted above, I cut the spare elastomer down to 101mm and put two spacers in.
This worked well - found that this made the preload adjustment to give a good range for me. Having the preload around halfway with the two spacers have me the right amount of bounciness.
Glad I found those manuals online though, wouldn't have tuned it right without them