If you’ve got a nice shiny frame (or even a battered old nail that you’re fond of) and have invested in a frame bag … then, before you mate them together, it’s worth taking steps to keep them apart.
 |
| Some things you just can’t buy. |
The reality is that, you could tape your frame with just about anything, duct tape, insulation tape or even masking tape but if you’ve ever seen the damage a frame and bag can inflict on each other in just a few hours of wet, gritty riding, then using something a little tougher seems the wise thing to do. Simply having the right material for the job is only the start of the story … if you wade in, scissors flying it’s likely that the ‘finished job’ will look an awful lot worse than the scratches and scuffs you’re trying to prevent.
Preparation.
Before you even think about reaching for your tape of choice … go and wash your bike, now go and wash it again, only this time do it properly. Any grime left on your frame prior to taping will be trapped for all eternity, where it will forever ridicule you for your pathetic attempts at bike cleaning.
With your bike all clean, sparkly and dry wander off and find yourself some meths. Give all the frame tubes a good wipe down, followed by a good wipe off with a clean cloth. Now go and put the kettle on to give any meths you’ve not fully wiped off, time to evaporate … one brew plus three chocolate digestives should be about right
I’d suggest that now is also a good time to get all the bits and pieces together that you’ll require … tape, sharp knife, scissors, ruler, masking tape, pen and a clean cloth will certainly be needed and hole punch, hair dryer and some paper may prove useful. Now you’ve assembled your tool kit, go and wash your hands. Although you’ll be trying not to touch the sticky side of the tape, touching it is inevitable and the adhesive on the tape will pick up anything on your hands, leaving your dirty dabs on the underside of the tape for all to see.
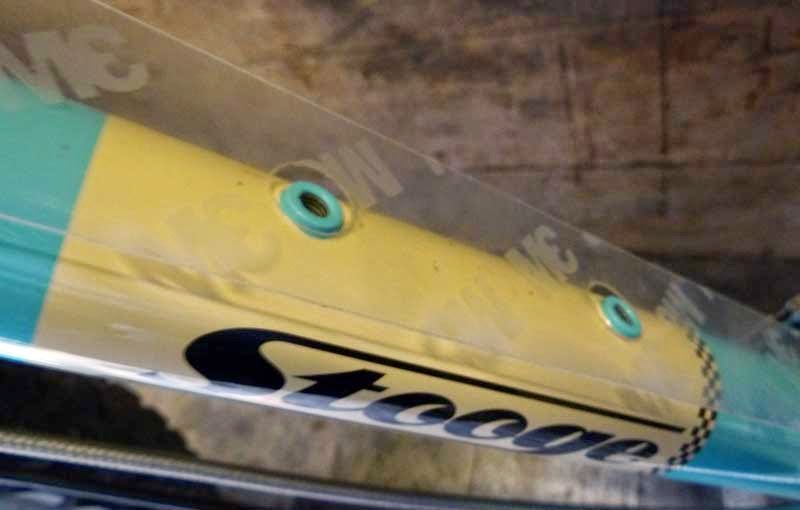 |
| Holes punched to fit around bottle bosses. |
Anywhere your frame and bag are in contact or likely to be once you factor in a little movement, needs taping. Obviously where the fitting straps go round the frame tubes is likely to be a potential ‘high rub zone’ but so is the inside of your frames triangle and this is where I’d start. You’ve got a choice to make here, you can either wrap the entire tube in tape (so the size of the tape you cut will be length of tube x circumference of tube – a few mm to avoid any overlap) or you could wrap half the tube so the tape only covers the inside of the frame triangle … it’s up to you.
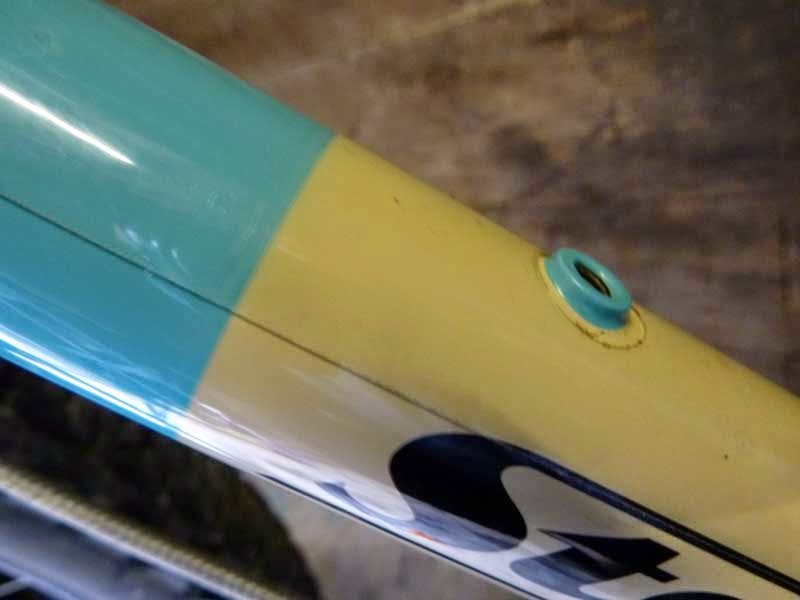 |
| Top side of downtube taped – note how (by accident) it perfectly lines up with the logo. |
If you decide to go for the full wrap then your job is largely over but remember if you do go this route, the tape can be trickier to apply especially if your frame possesses curves or changes in section … the less your frame looks like two triangles welded together, generally the harder taping full tubes will be.
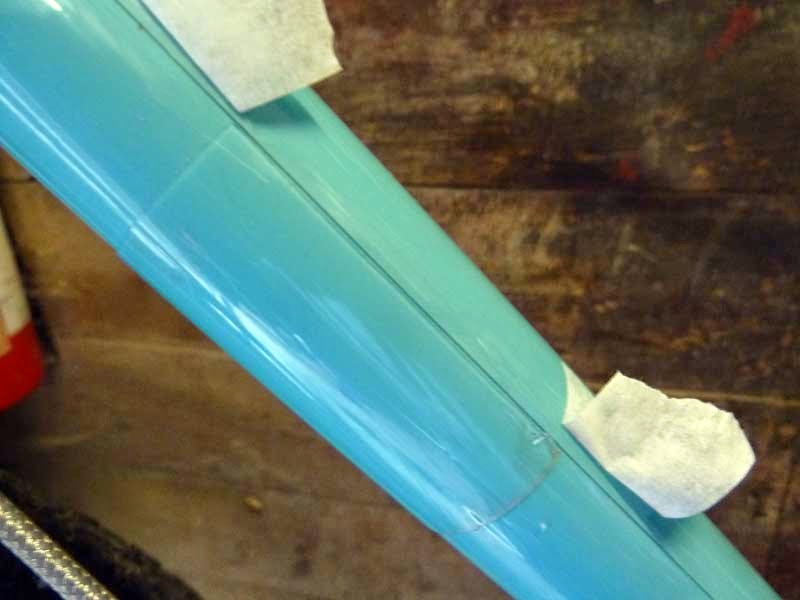
 |
| Masking tape markers showing where the bag straps go. |
In the interests of giving me something to write about, I’m going to assume that you’ve decided to just tape the inside of your frames triangle.
The next step is to fit your frame bag. With the bag in place, use pieces of masking tape to mark where the straps go round the tubes, with the strap locations marked, remove the bag and put it out of harms way. Using a sharp knife and a ruler (because it’s much easier to cut the tape edges parallel with a knife than it is with scissors) cut pieces of tape to match up with the gaps between your masking tape marks. A small gap of a couple of mm between the two pieces shouldn’t be an issue and looks neater than having them overlapping. Once you’ve put a section of tape in place and are happy that it’s where it’s meant to be, give it a good rub down with your clean cloth. Work from the inside to the outside and pay particular attention to the edges.
 |
| Ready to fend off strap attacks. |
Unless you’re very fortunate, somewhere on your frame there will exist a ‘tricky bit’. It might be a tight radius or a step, in the case of the Stooge it was the headtube / downtube gusset. If I’d tried to use a single piece of tape, it would have required two 90° turns in the space of a few millimetres and no matter how good the tape, I’m sure it wouldn’t have been able to maintain those types of contortions for long. This is where your bit of paper comes in handy … if you rub it over the offending area it should crease or mark enough so you can cut it out from the paper to form a template, that you can then transfer to your tape … it’s a bit like brass rubbing but without brass, gravestones or crayons.
If you have a ‘really tricky bit’ such as a very tight radius or maybe somewhere the tape needs to go over the top of a weld, use the hair dryer … but don’t go mad! Select a low heat setting and keep the thing moving continuously. The heat will both soften the tape and warm the adhesive, which in turn makes forming the tape round complicated sections so much easier.
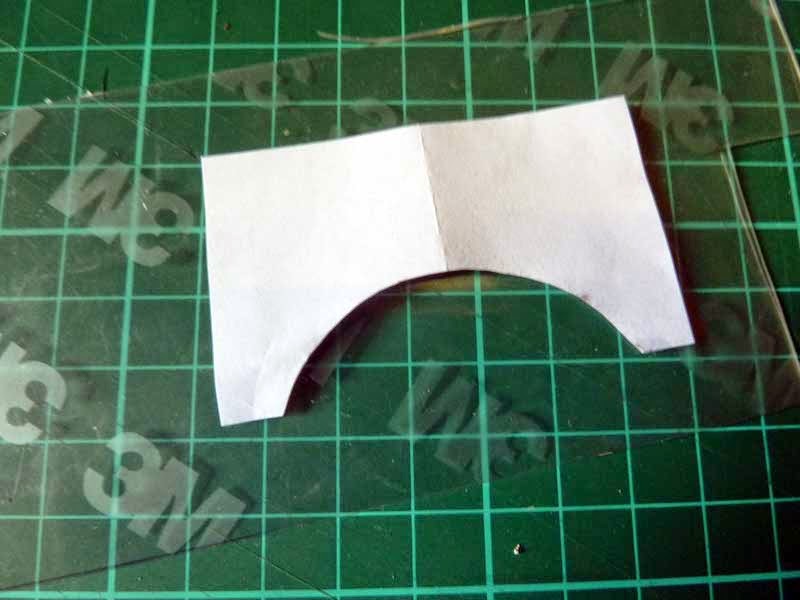 |
| Paper template from headtube gusset. |
Unless you’ve got a black belt in frame taping, at some point you’re likely to encounter an air bubble. Firstly, don’t panic, even if you’ve fully rubbed the tape down you’ll still be able to remove it and evict the trapped air. If the tape really isn’t for budging, give it a quick going over with your Tresemme 5543U diffuser or similar, which should help you release its gluey grip.
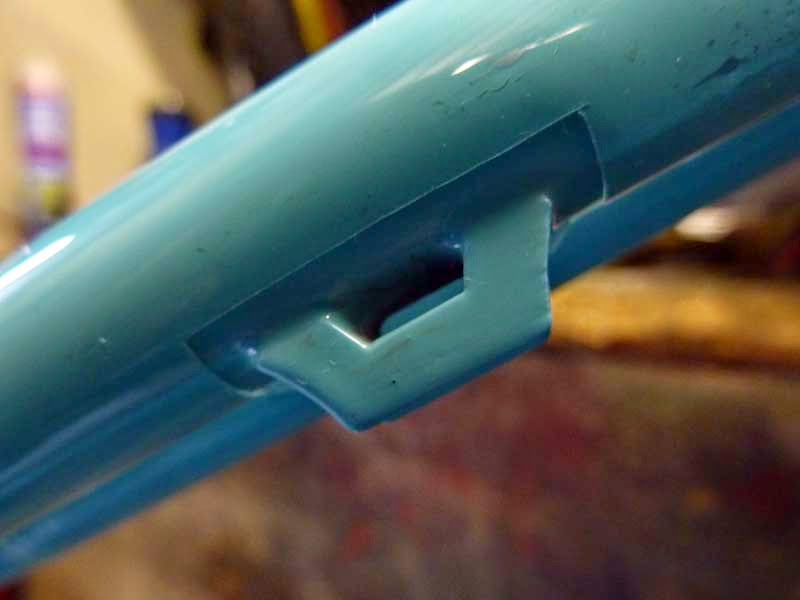 |
| Oh yeah, don’t forget to cut out for cable guides, etc before you apply the tape. |
Hopefully, your frame is now fully taped, all smoothed down and to the casual, squinting observer, all but invisible. Take your time, don’t rush and if you make a mistake count to ten and start again.
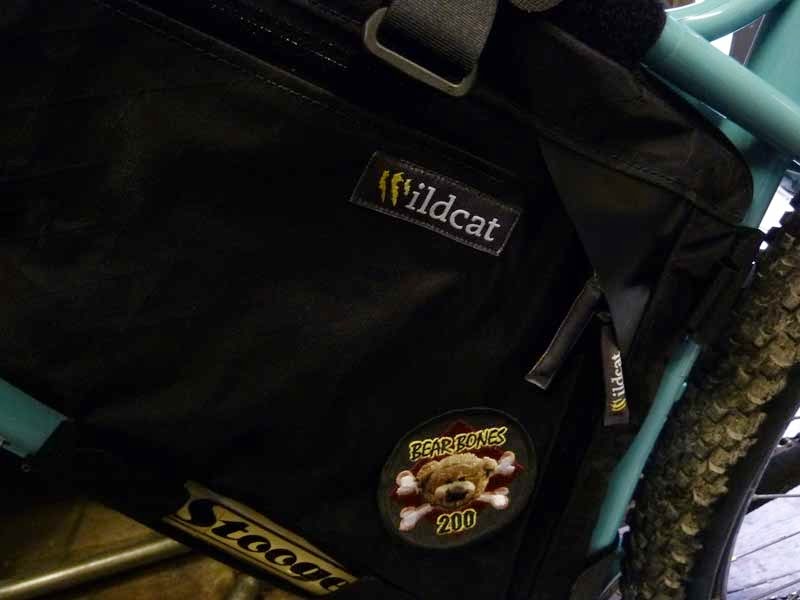
The tape used here is genuine 3M ‘copter tape and was supplied by Wildcat Gear. It’s thick, yet very flexible, making it fairly easy to apply and hopefully very hard wearing … recommended.


An excellent and exhaustive primer. I'd never really given much thought to bag/frame rub figuring any marks would just add to the 'patina' of a well-loved bikepacking rig. You've given me pause though…